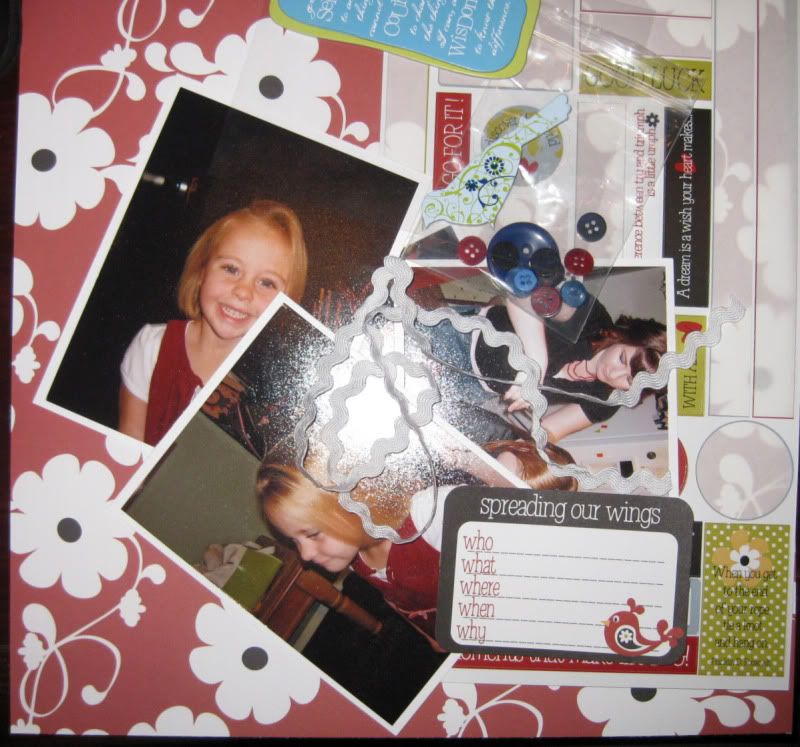
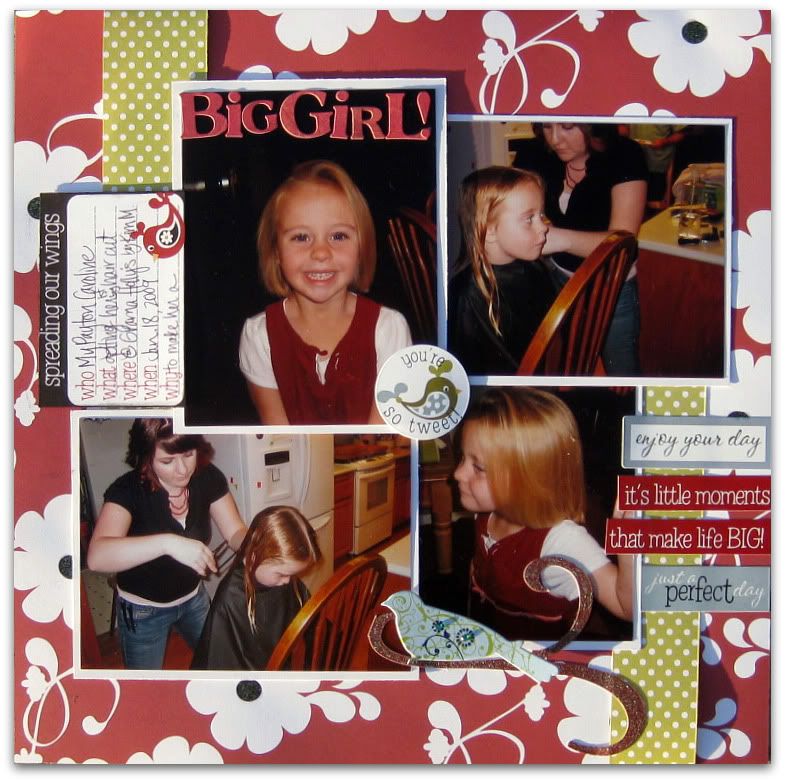
For this layout, I had a lot of pictures I wanted to use all together. I looked for a sketch that had several photos. I chose this sketch from Sketch Inspirations:

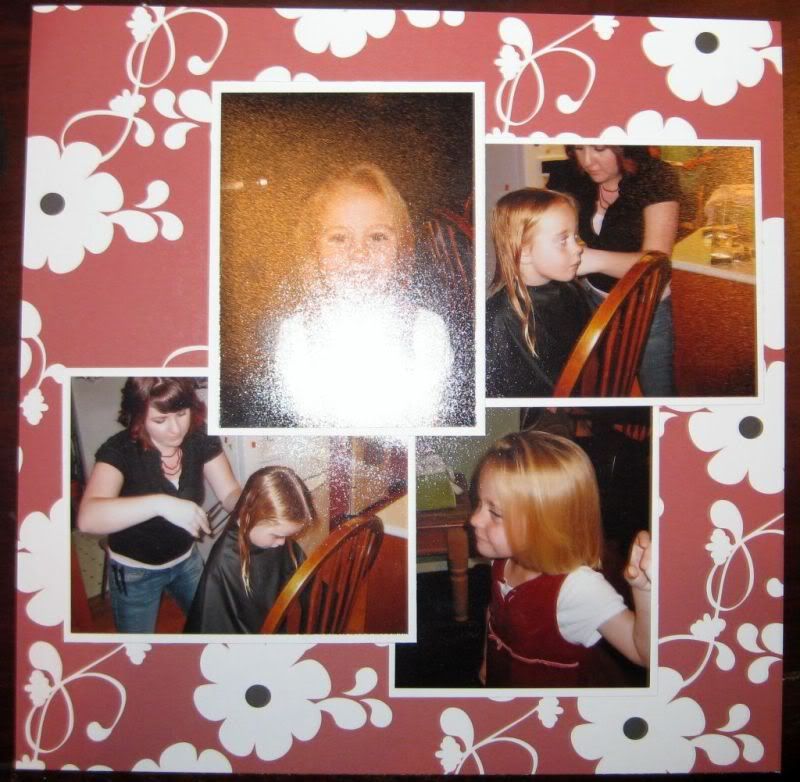
I had my kit supplies all out and I matted my photos with white cardstock to start. I used 4x5.25 photos that I had printed by Snapfish. I cut my mats 4.25x5.5in, 1/4 in bigger than the photos. I cut all the mats from 1 sheet of 8.5x11 paper.
I then placed my photos in the design of the sketch. I had to move them around a bit to get the right amount of overlap. It would have been easier to arrange them if I had trimmed the photos down, but I wanted to leave them large. I then adhered the photos and used foam tape behind the top left photo. I wanted that one to stand out above the others.
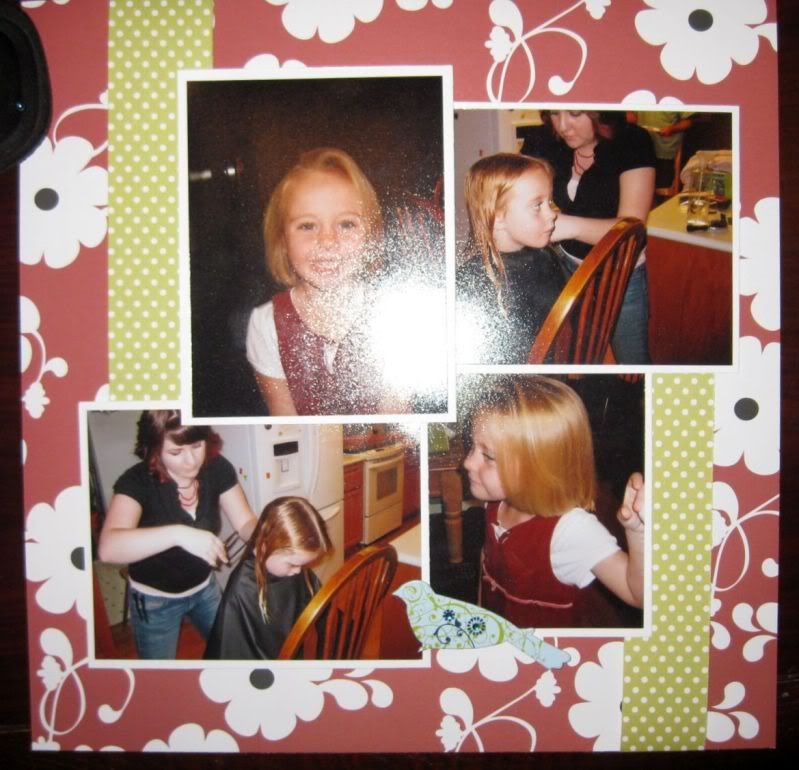
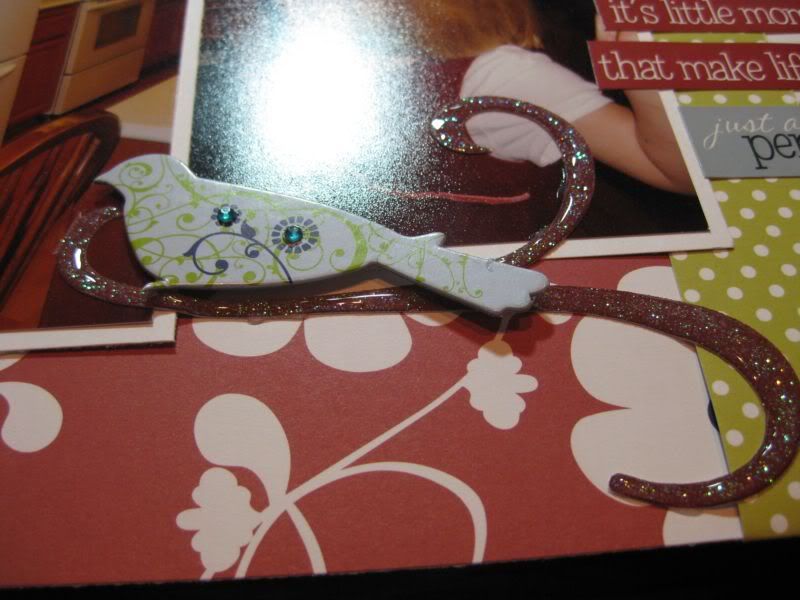
I then chose two strips of contrasting pattern paper cut to roughly 1.5 inches wide and placed them on either side of my photo group. This is different from the sketch but I liked the way it looked. These strips were actually leftovers from another layout. I also added that little chipboard bird from the kit too.
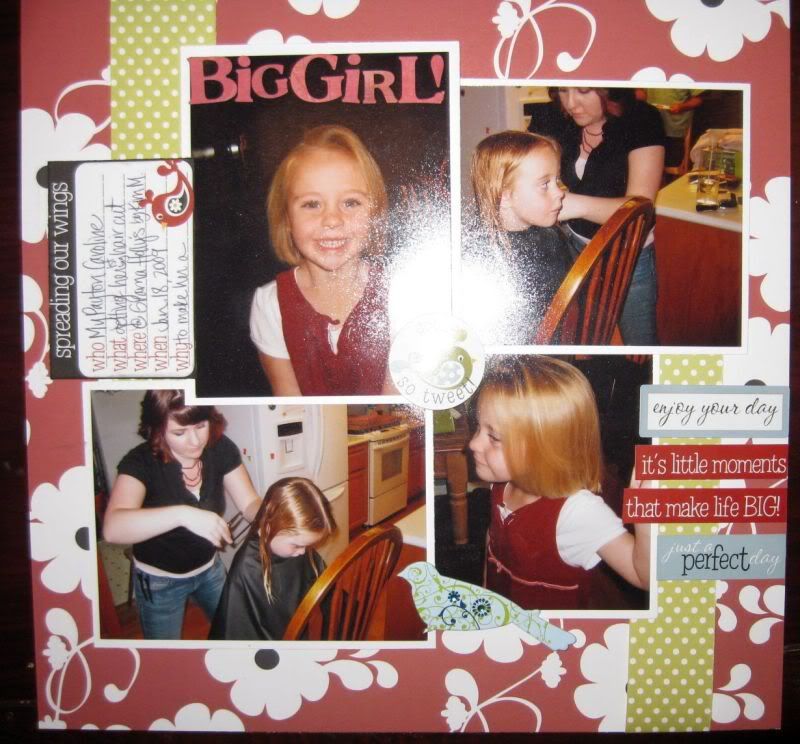
I placed word strip stickers on the right like the sketch, a journaling block on the left, a center sticker, and my title across the top of my main photo. I chose that title placement to help draw the eye to my main photo.
The bird needed something to perch on so I cut a swirl with my cricut and used half of it under the bird.
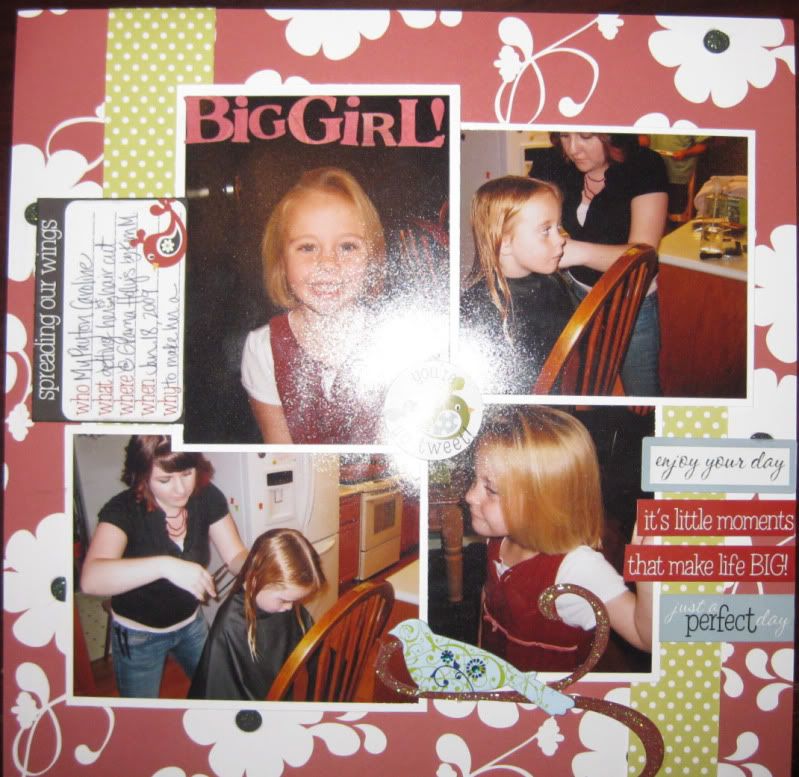
Then I added stickles to the swirl and to the centers of the flowers on the main pattern paper.
And I was done!
I hope you can see how easy it is to get lots of photos on one page and how great sketches are! I love sketches.
Sorry for all the flash spots in the tutorial photos. I was working late at night and couldn't figure out how to photograph without them but still get a clear picture.
No comments:
Post a Comment