I have a really cute and really easy 4th of July project to share with you. The hardest part of this is a little painting. I used Dream Street MJ paper on one set and Scenic Route on the other set.
First, here are your supplies.
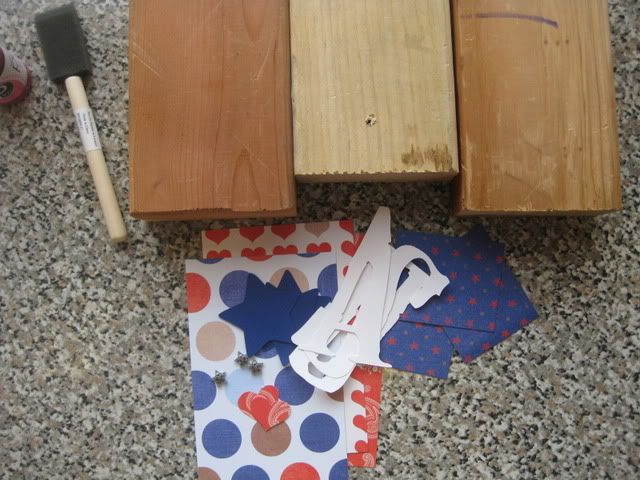
3 wooden blocks
red paint
a foam brush
3 large pieces of pattern paper to cover the font side of the block
3 smaller pieces for the "stars"
a U, S, and A (I cut them with my Cricut)
3 stars (I cut these with my Slice)
3 hand punched circles or hearts
3 fasteners (I used star snaps, you could use brads)
ink for distressing
Start by painting your blocks
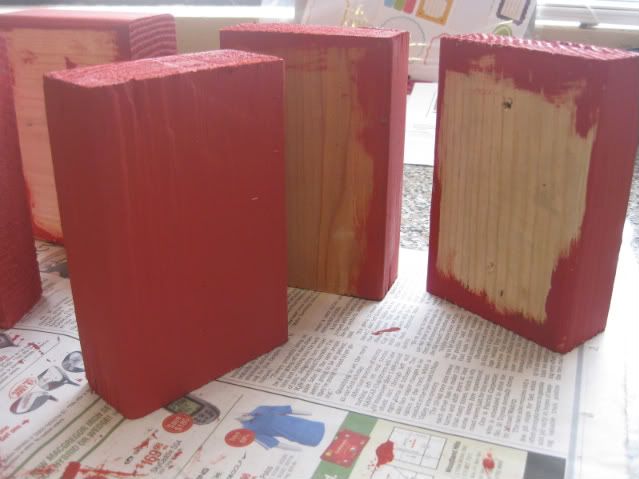
I left the side I was adhering the paper raw because I didn't want to run out of paint. I was painting 6 blocks and I olny had a small thing of paint.
After letting them dry, adhere your large pieces of paper to the block.
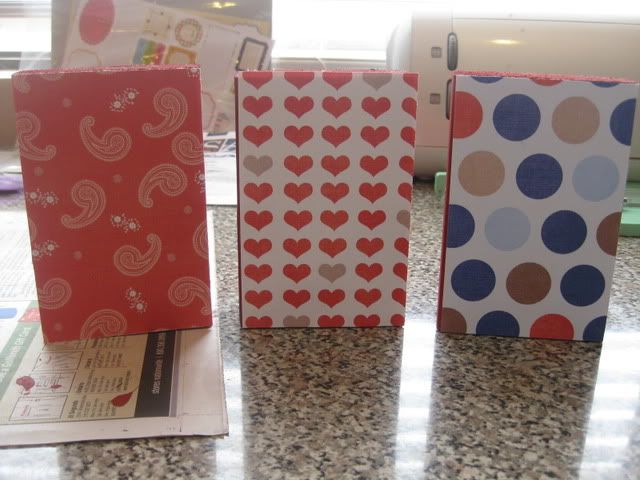
I tried to pick paper that was mainly red, mainly white, and mainly blue. I wanted them in that order.
Then ink all your pieces! (this step is optional)
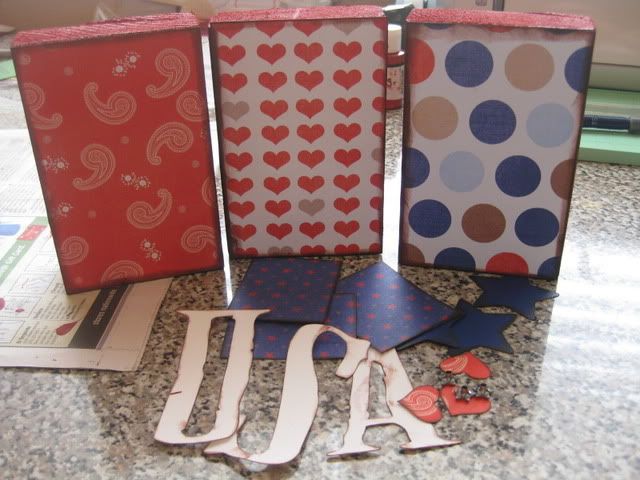
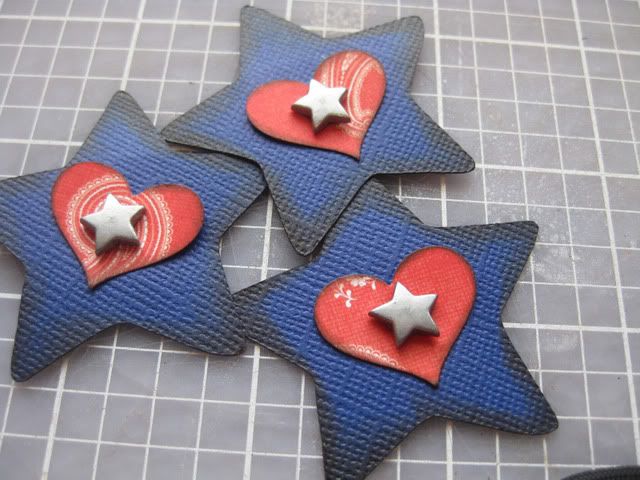
Next, sandwich together your star, heart/circle, snap.
Adhere your smaller squares, the letters, and your stars.
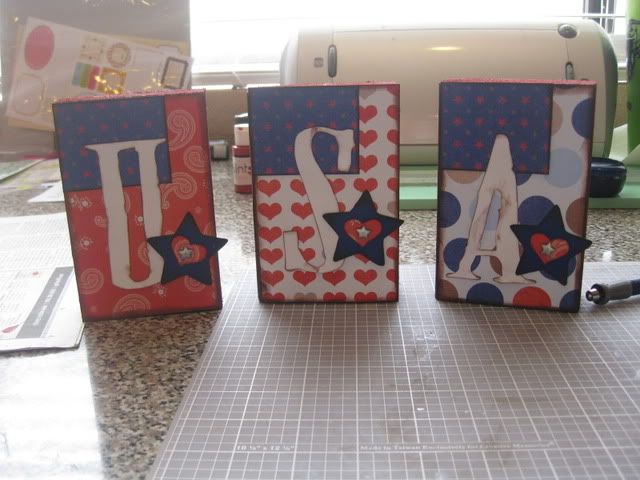
And you are done!
Place it somewhere and you have an easy 4th of July decoration!
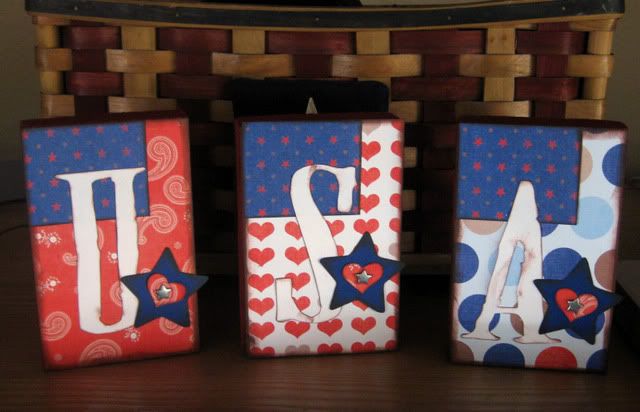
This one is made with the July MJ kit.
Here is another one I made with Scenic Route's 4th of July paper that came out last year.
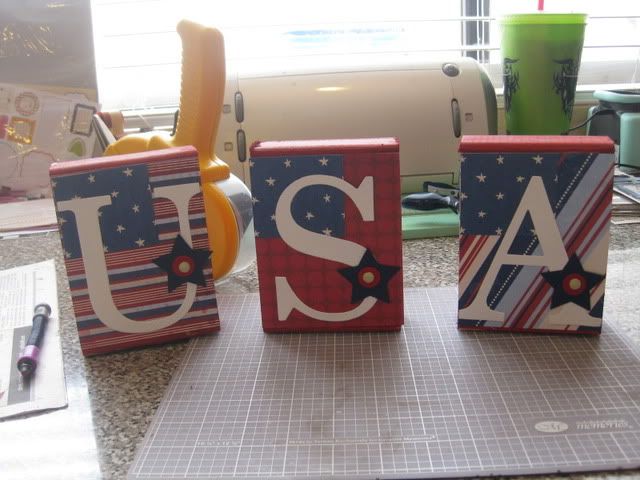
I like the letters on this one better. I didn't have a font like this for the MJ set though. Also, this one is not inked.
You can see how the two sets are similar, but still unique. What other projects could you make with this same process? I have lots of wood still! I might have to make more decorations.
I hope you have enjoyed this tutorial!
First, here are your supplies.
3 wooden blocks
red paint
a foam brush
3 large pieces of pattern paper to cover the font side of the block
3 smaller pieces for the "stars"
a U, S, and A (I cut them with my Cricut)
3 stars (I cut these with my Slice)
3 hand punched circles or hearts
3 fasteners (I used star snaps, you could use brads)
ink for distressing
Start by painting your blocks
I left the side I was adhering the paper raw because I didn't want to run out of paint. I was painting 6 blocks and I olny had a small thing of paint.
After letting them dry, adhere your large pieces of paper to the block.
I tried to pick paper that was mainly red, mainly white, and mainly blue. I wanted them in that order.
Then ink all your pieces! (this step is optional)
Next, sandwich together your star, heart/circle, snap.
Adhere your smaller squares, the letters, and your stars.
And you are done!
Place it somewhere and you have an easy 4th of July decoration!
This one is made with the July MJ kit.
Here is another one I made with Scenic Route's 4th of July paper that came out last year.
I like the letters on this one better. I didn't have a font like this for the MJ set though. Also, this one is not inked.
You can see how the two sets are similar, but still unique. What other projects could you make with this same process? I have lots of wood still! I might have to make more decorations.
I hope you have enjoyed this tutorial!
1 comment:
Hey! You're supposed to invite me over when you do cute things like this!!
Post a Comment