Hi Everyone! Welcome to my class. I was supposed to post this on Friday but it was our 11th anniversary and I forgot. So today I want to share with you how I create layouts.
I'd say that 95% of the time I start with a my supplies, the picture(s), and a sketch. Its very rare that I do any layout without a sketch. I just takes me too long to come up with a play without using something to help me get started.
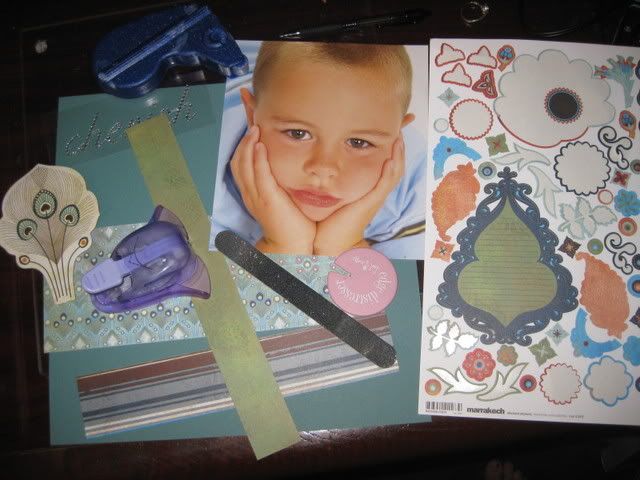
Here is the sketch I used for this layout and a picture of my supplies. I used the Marrakech kit.
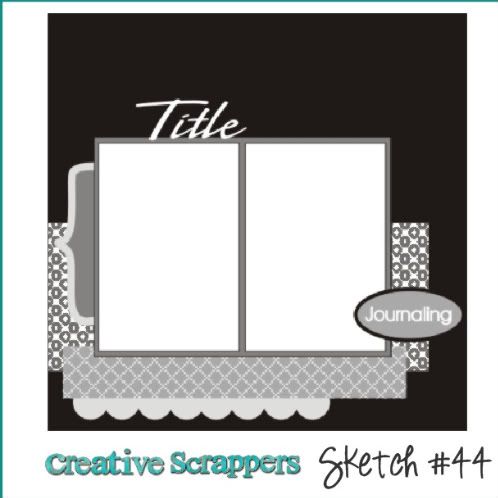
This is a sketch from a blog I like to read called creativescrappers.blogspot.com I get my sketches from lots of different places. PageMaps are a definite favorite, but there are others I like to use like this blog.
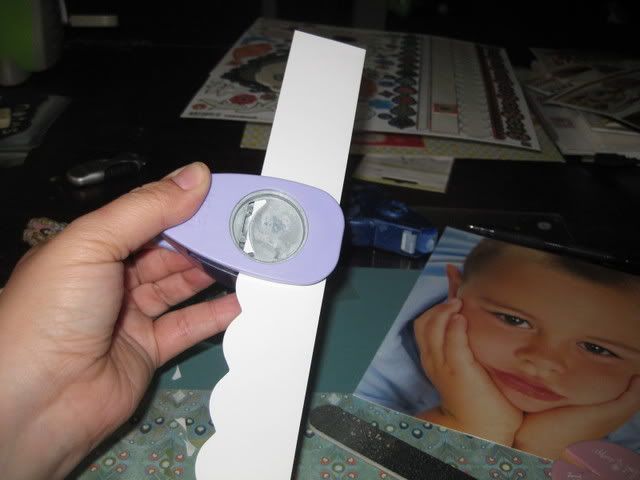
Next I cut my papers down to the size I needed to mimic the sizes in the sketch. I used my EK Success corner rounder to scallop a strip of paper. Just take off the plastic foot and line up the scallops from the back of the punch.
Then I ran my file along the edges of each piece of paper to add some dimension. It just takes off the top layer of color and reveals a white edge.
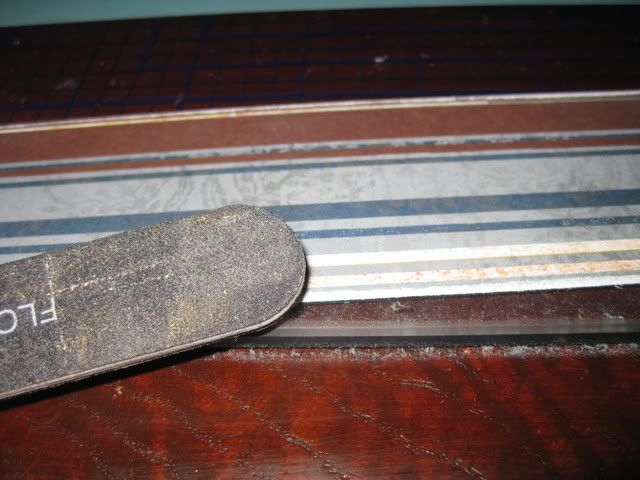
This can make a mess of paper dust, but I really like the added touch this gives without a lot of work. This file tip was actually something Nicole taught me not too long ago. I love this tip too! I like it better than inking if I'm going for a white edge.
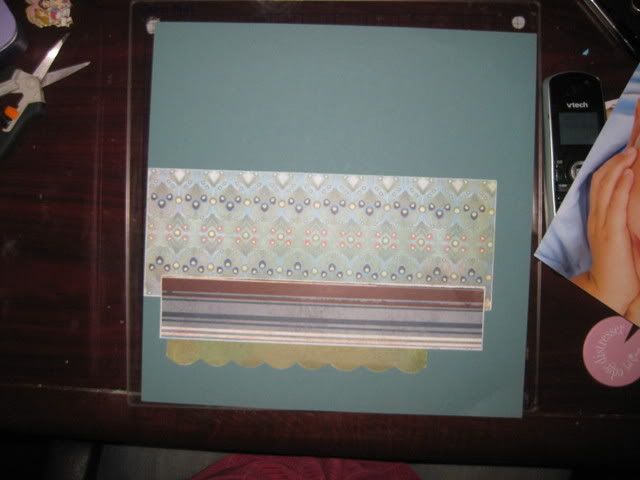
Then I glued the papers down according to the sketch.
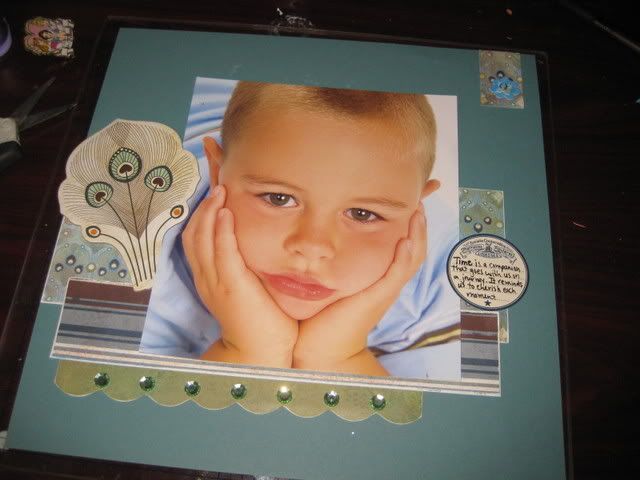
Added the photo, some embellishments and a little journalling.
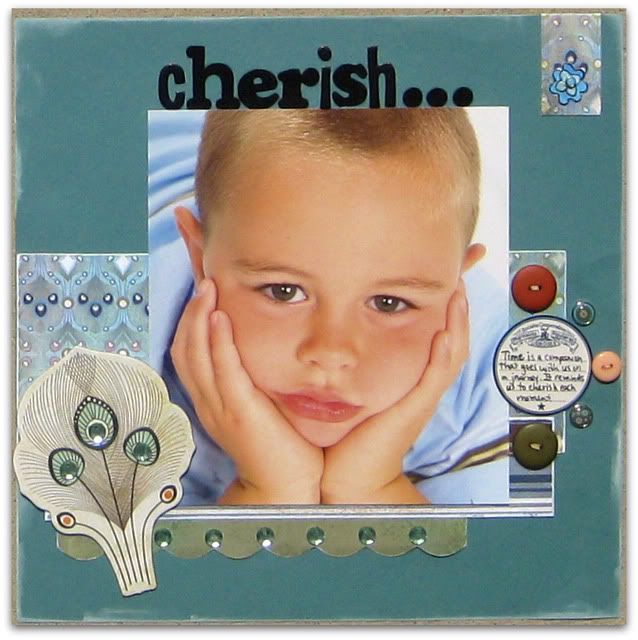
Then I tried to add the title. I was trying to use a bling word. I just have a really hard time getting those lined up though. I put it down, pulled it up, and put it down again. Finally I pulled it off, threw it un the trash and got out my Thickers. I didn't have enough letters from any one pack to make my title so I used a few letters from a couple different packs.
Here is the finished layout with the title and inked edges.
I hope you like the end result. Let me know if you try the scallops or filing your edges too.
I'd say that 95% of the time I start with a my supplies, the picture(s), and a sketch. Its very rare that I do any layout without a sketch. I just takes me too long to come up with a play without using something to help me get started.
Here is the sketch I used for this layout and a picture of my supplies. I used the Marrakech kit.
This is a sketch from a blog I like to read called creativescrappers.blogspot.com I get my sketches from lots of different places. PageMaps are a definite favorite, but there are others I like to use like this blog.
Next I cut my papers down to the size I needed to mimic the sizes in the sketch. I used my EK Success corner rounder to scallop a strip of paper. Just take off the plastic foot and line up the scallops from the back of the punch.
Then I ran my file along the edges of each piece of paper to add some dimension. It just takes off the top layer of color and reveals a white edge.
This can make a mess of paper dust, but I really like the added touch this gives without a lot of work. This file tip was actually something Nicole taught me not too long ago. I love this tip too! I like it better than inking if I'm going for a white edge.
Then I glued the papers down according to the sketch.
Added the photo, some embellishments and a little journalling.
Then I tried to add the title. I was trying to use a bling word. I just have a really hard time getting those lined up though. I put it down, pulled it up, and put it down again. Finally I pulled it off, threw it un the trash and got out my Thickers. I didn't have enough letters from any one pack to make my title so I used a few letters from a couple different packs.
Here is the finished layout with the title and inked edges.
I hope you like the end result. Let me know if you try the scallops or filing your edges too.
1 comment:
I love it!!! Gorgeous photo!
Post a Comment